1. Installing on Mac
Once you've downloaded the installer the installation is pretty straight forward. Start it by just double-clicking on it. After preparing the installation which takes only a few seconds you'll see the starting screen:
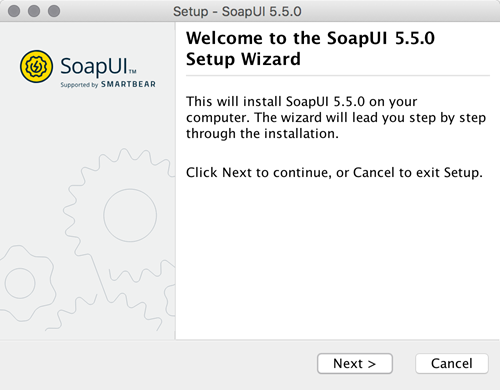
Click Next to continue.
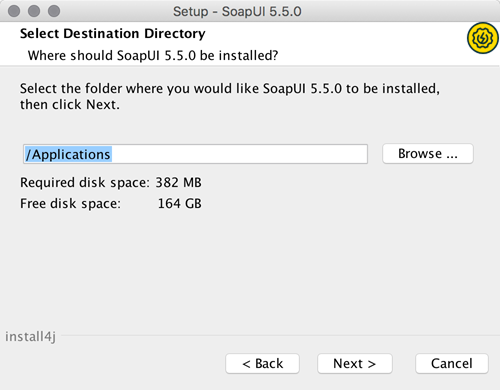
Select the destination folder which by default is set to /Applications.
Next step gives you opportunity to optionally include, as additional components, SoapUI source files, tutorials and HermesJMS installation.
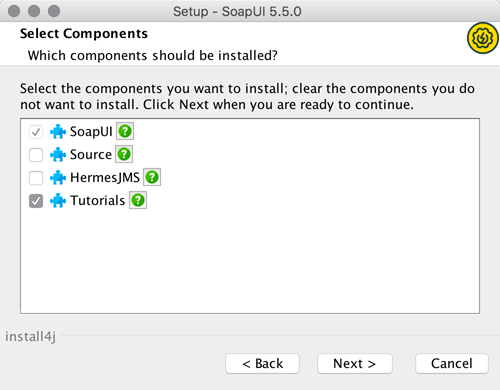
Note: If you choose to install HermesJMS, you will have to accept the HermesJMS license agreement.
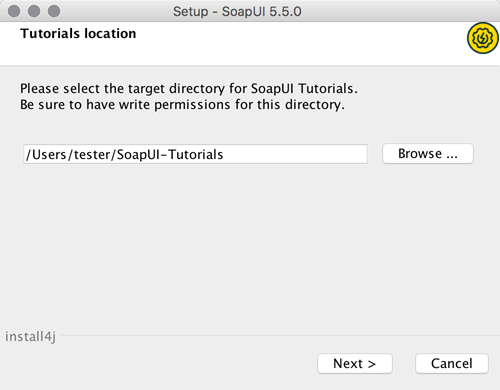
If you choose to install SoapUI tutorials, specify the directory to which you want to install them:
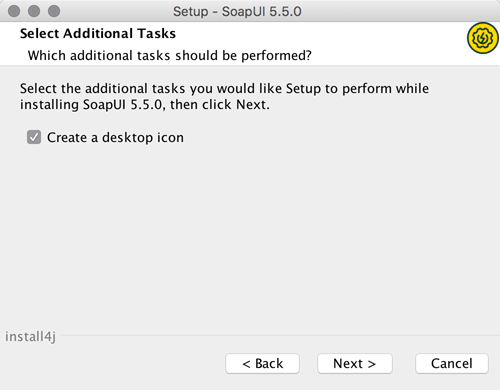
After that a window appears where you'll be asked to select if desktop icon should be created. Starting from version SoapUI 3.6-beta2 JxBrowser is working on mac, but there is still a issue left with browser being always displayed on top if opened.
Finally, by clicking Next, the installation starts
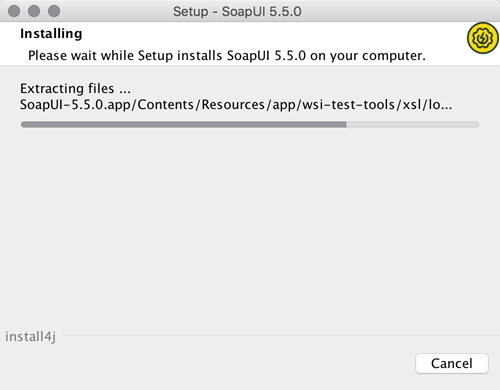
After couple of minutes most the installation should be finished and you should see the next screen:

Now you are ready to use it. Good luck!
2. Installation problems
If your installed SoapUI instance on a Mac is not responding, try the following steps to resolve the issue:
- In soapui-settings.xml file add or update the following line:
<con:setting id="UISettings@disable-browser">true</con:setting>
- If that doesn't work, start ReadyAPI with the following parameter added to the command line:
-Dsoapui.jxbrowser.disable=true
- Alternatively, you can navigate to SoapUI*.app and do "Show Package Info" ( from popup menu ).
Then you should see Contents directory. Open Info.plist file for editing where you can add:
<key>soapui.jxbrowser.disable</key>
<string>true</string>
- We have also seen some issues with SoapUI installs in Mac when GateKeeper is active. So to rule out that possible conflict, deactivate GateKeeper and try starting SoapUI
Also if you want to change the look and feel of SoapUI or ReadyAPI to look more like a Mac application, change the following settings:
- Go to File > Preferences > UI Settings tab
- Check "Use native look & feel"
- Restart ReadyAPI
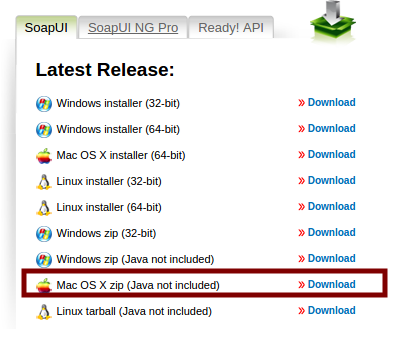
Install from zip file
To install from zip file, you need the zip file version:

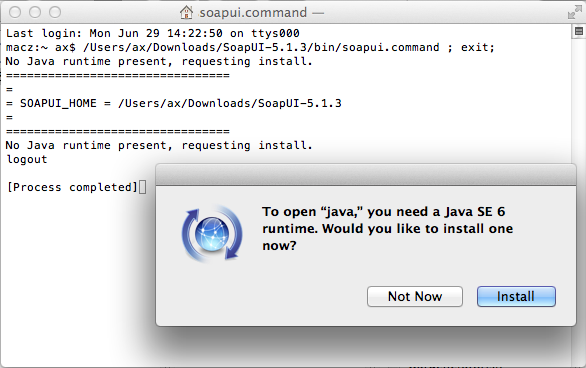
Install Java
Most likely you want to use the zip file because you already have a Java distribution installed.
If that is not the case, you will be asked to install Java:
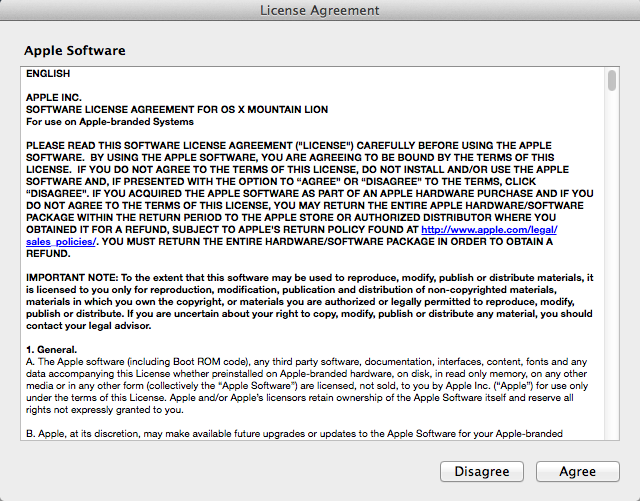
You will have to accept the license agreement:
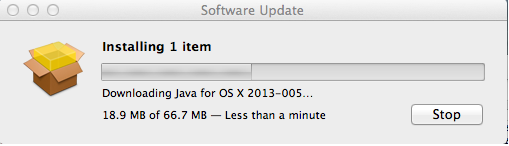
The Java packages is downloaded:
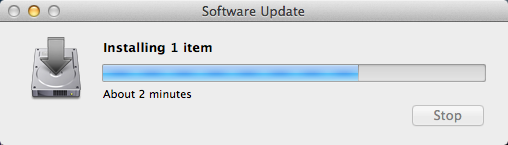
After download, the install starts automatically:
When the install is finished, you can close the installer:
No one knows APIs better than SmartBear. Find out what our Pro version of SoapUI can do to improve your testing.