The SoapUI NetBeans Plugin provides all Soapui functionality directly from within NetBeans 5.5/6.0 allowing one integrated development and testing environment for Web Services in java. Since SoapUI 2.0, the plug-in hosts SoapUI projects just as standard NetBeans projects, ie the previously available "SoapUI Navigator" tab has been removed and SoapUI projects are managed like any other NetBeans projects. Here are some screenshots:
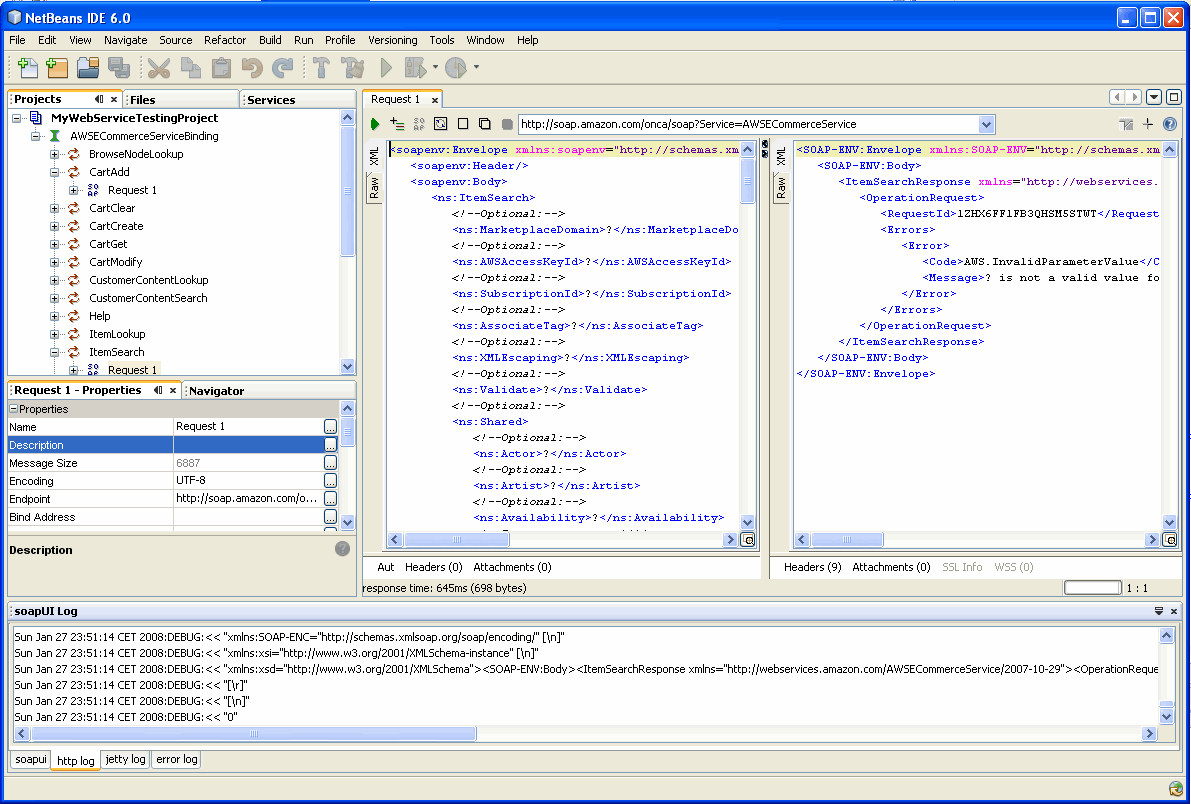
(Request/Response Editors)
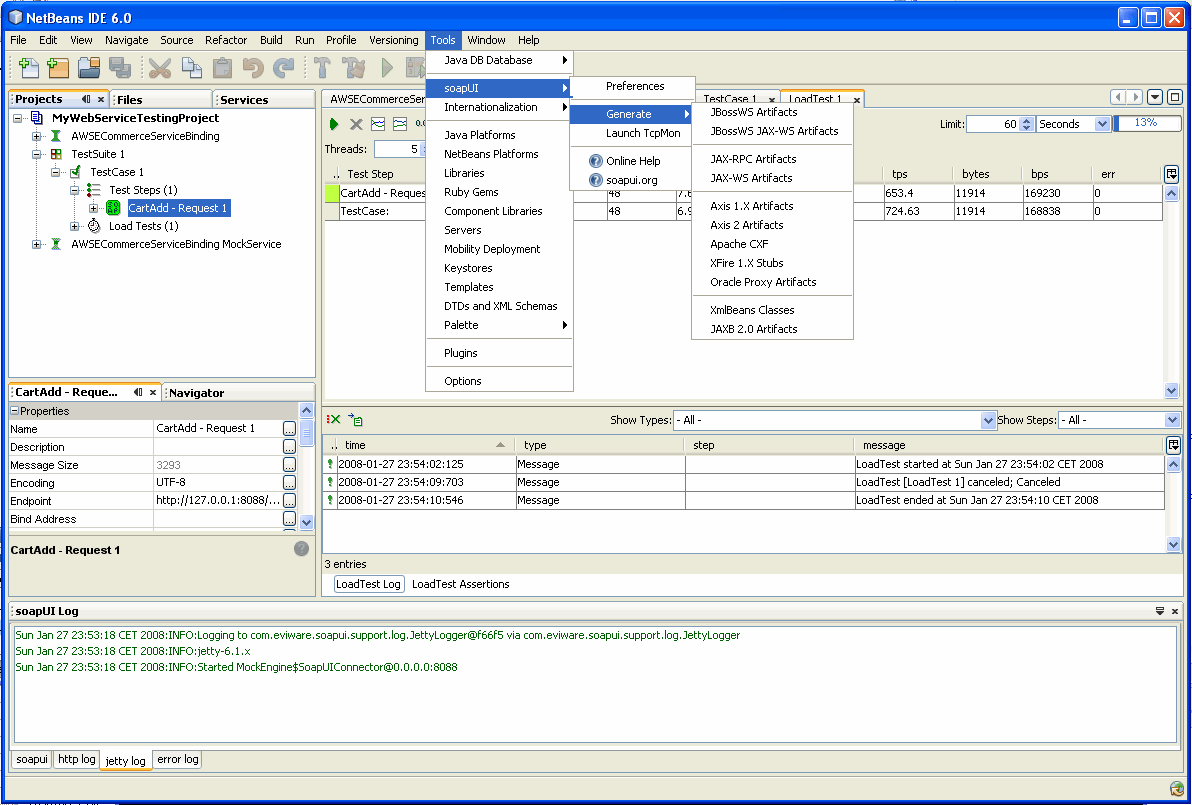
(Tools / soapUI Menu with LoadTest Runner in background)
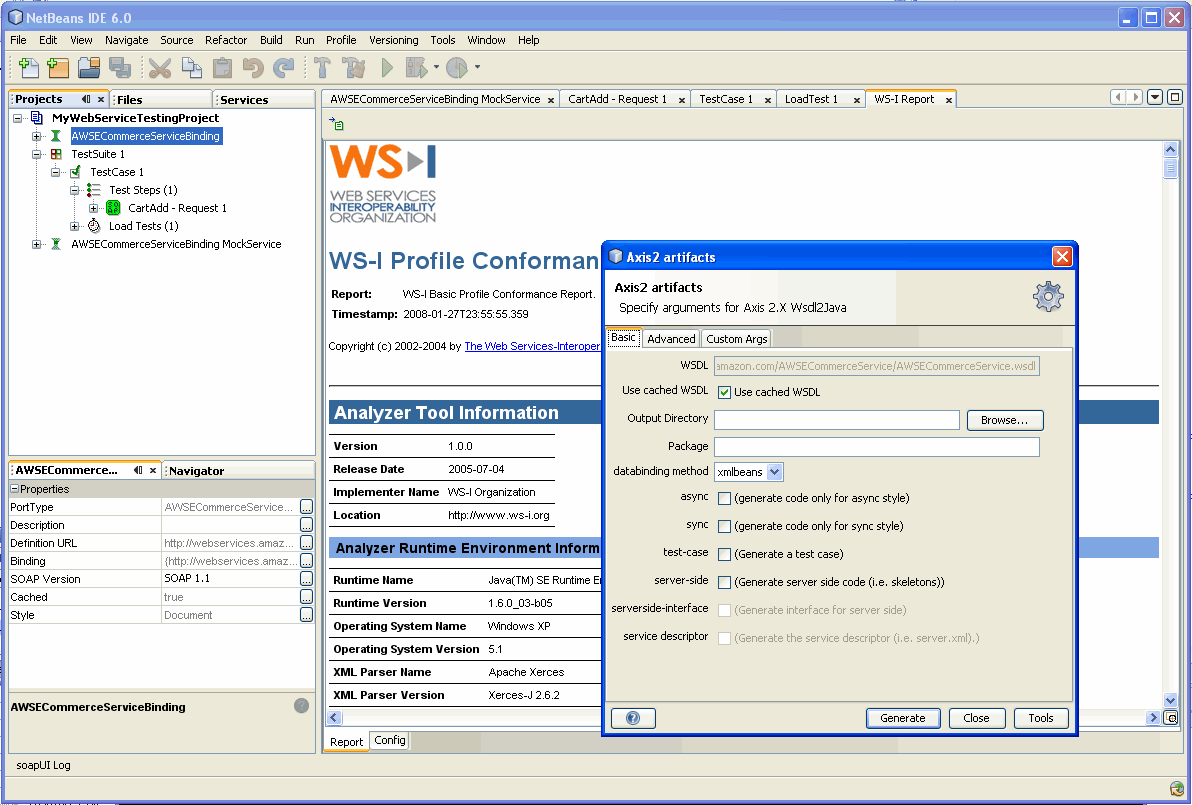
(Axis2 Wizard with WS-I Basic Profile Report in background)
The command-line runners are not included with the NetBeans plug-in but must be installed seperately by installing the standalone SoapUI version.
Getting Started with WS Testing in Netbeans
Download the NBM from SourceForge SoapUI Downloads or via the NetBeans Plugin manager. If you downloaded it from SourceForge, install as described in the SoapUI Installation document. See the SoapUI demonstration movies below for some hands-on tutorials, otherwise the existing Getting Started with SoapUI applies also to the NetBeans Plugin, as does the User Guide. The only real difference is that the standalone SoapUI Desktop has been replaced by the NetBeans tabbed interface for editors.
Creating a SoapUI project
As mentioned above, SoapUI projects are managed as standard NetBeans projects. To create a new SoapUI project, select the New Project -> SOA -> Web Service Testing Project option:
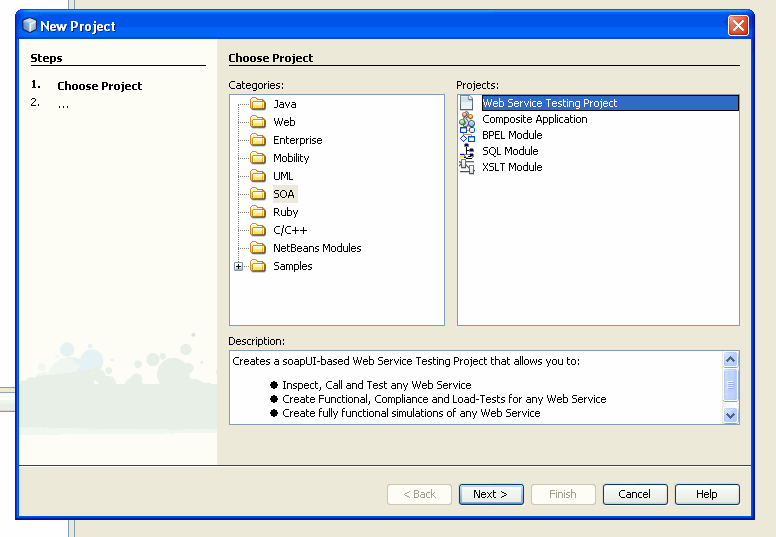
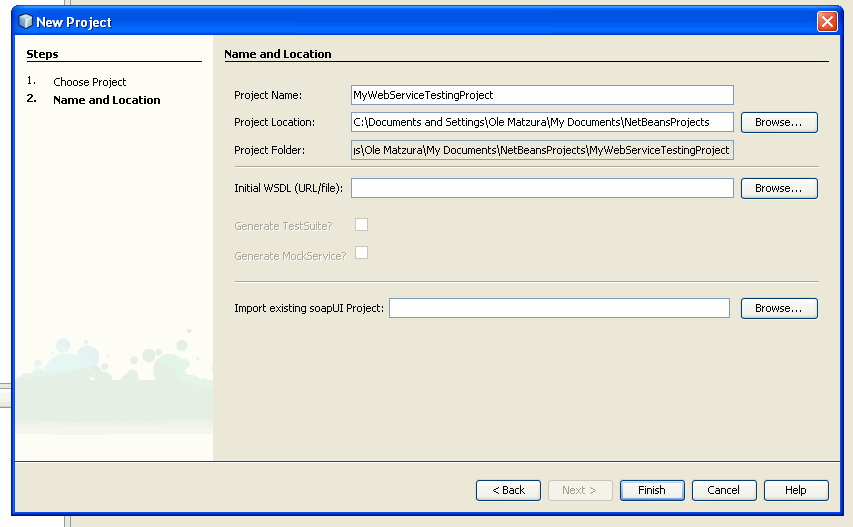
After selecting "Next", one will be prompted to create the project, together with options for:
- Specifying the initial WSDL to import
- Generating a TestSuites and/or MockService for the specified WSDL
- Specifing an existing ReadyAPIject which will be imported instead
- Specifying URL, Web Service Testing Project Wizard in the NetBeans plugin
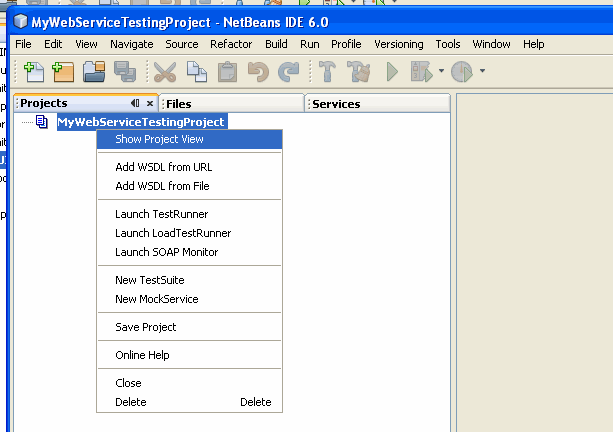
Depending on which options that have been selected, a number of dialogs will be shown to query for related information. Once the project has been created, it will be visible in the standard NetBeans "Projects" view in the same way as it is displayed in SoapUI Navigator when running the standalone version of SoapUI:
Log and Property Views
The standard SoapUI Log tabs are made visible via the Window\SoapUI Log menu option which will open the tabs in a window at the bottom of the NetBeans desktop:

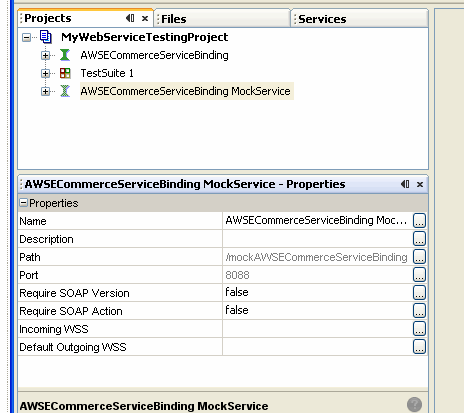
The item specific properties displayed at the bottom-left in the standalone version of SoapUI can be viewed or edited by opening the NetBeans Properties Window from the Window menu.
Demonstration Movies
As of NetBeans 6.0 M9 / OpenESB 2.0, the SoapUI NetBeans plugin is bundled with the OpenESB add ons, downloadable from https://open-esb.dev.java.net/Downloads_OpenESB_Addons_NB6.html. The following demonstration movies are available that show how to get started with common SoapUI tasks in NetBeans:
* SoapUI NetBeans Demo Movie 1 shows how to create a simple WSDL, implement and deploy that WSDL with a BPEL process, and finally test the deployed process with the soapUI module.
* SoapUI NetBeans Demo Movie 2 shows how to create a simple WSDL, create a Mock Implementation of that WSDL with the SoapUI module, create a java application client that calls the Mock Implementation, and then finally how to implement the WSDL with a BPEL process.
* SoapUI NetBeans Demo Movie 3 shows how to create a simple JAX-WS Web Service and deploy/test it with the SoapUI module.
Download NetBeans IDE Plugin